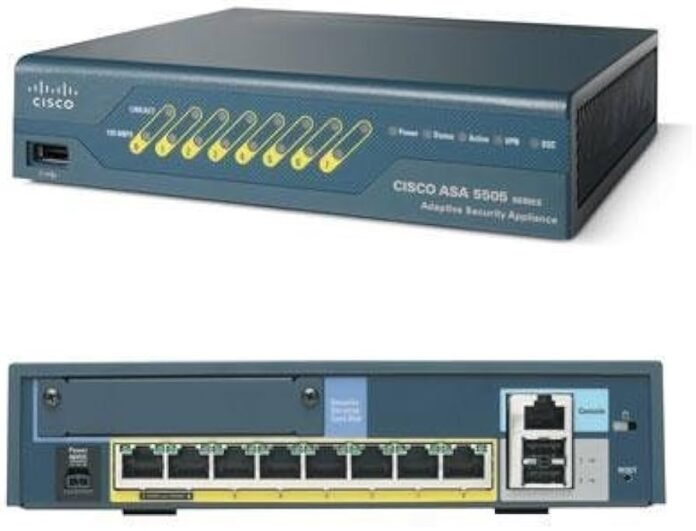
Configuring a Cisco ASA 5505 involves a series of steps to set up basic functionality. Here’s a simplified example of how to configure a Cisco ASA 5505 for a basic network. Note that the actual configuration might vary based on your specific requirements:
- Access the ASA: You can access the ASA using the console cable, SSH, or Telnet.
- Basic Configuration:
enable

configure terminal

hostname ASA5505
Replace “ASA5505” with the desired hostname for your ASA.
- Set the Passwords:
enable password <enable_password>

passwd <console_password>
Replace
<enable_password>with the enable mode password, and<console_password>with the console access password. - Configure Interfaces:
interface Vlan1

 nameif inside

 security-level 100

 ip address <inside_ip> <inside_subnet_mask>
interface Vlan2

 nameif outside

 security-level 0

 ip address <outside_ip> <outside_subnet_mask>
Replace
<inside_ip>and<inside_subnet_mask>with the inside network’s IP and subnet mask, and<outside_ip>and<outside_subnet_mask>with the outside network’s IP and subnet mask. - Configure NAT (Network Address Translation):
object network obj_any

 subnet 0.0.0.0 0.0.0.0

nat (inside,outside) dynamic interface
This basic NAT configuration allows devices on the inside network to access the internet through the ASA’s outside interface.
- Configure Default Route:
route outside 0.0.0.0 0.0.0.0 <gateway_ip> 1
Replace
<gateway_ip>with the IP address of your upstream router or ISP’s gateway. - Configure DHCP for Inside Network (Optional):
If you want to enable DHCP for your inside network, use the following commands:
dhcpd address <inside_ip_start>-<inside_ip_end> inside

dhcpd enable inside
Replace
<inside_ip_start>and<inside_ip_end>with the range of IP addresses to be assigned by DHCP. - Enable SSH Access (Optional):
If you want to access the ASA via SSH:
ssh <inside_network_ip> <inside_network_subnet_mask> inside

ssh version 2
Replace
<inside_network_ip>and<inside_network_subnet_mask>with your internal network information. - Save the Configuration:
write memory
- Verify the Configuration:
show running-config

show interface ip brief

show route
These are basic configurations for a Cisco ASA 5505. Depending on your specific use case, you may need to configure additional features, such as access control rules, VPN, and more. It’s essential to secure your ASA and follow best practices for firewall and network management.

